Entering expenses in QuickBooks allows you to check how you are spending money and where you can manage the costs. It also simplifies the tax filing procedure. To create expenses, you need to set up an expense account in the chart of accounts. In this blog, we will discuss how to enter expenses in QuickBooks in detail and various steps to delete or edit your expenses in QB.
How to Enter Expenses in QuickBooks?
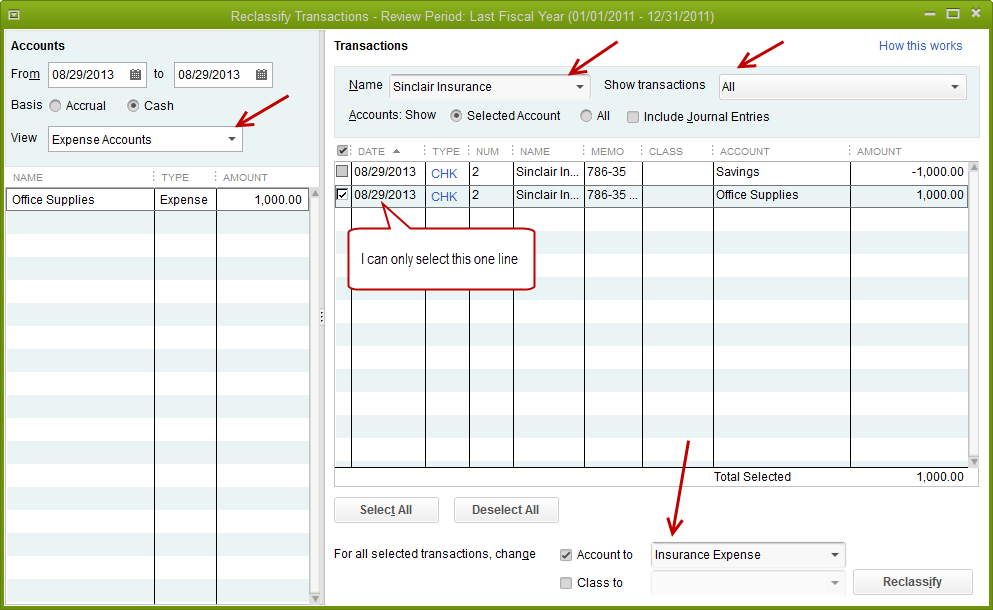
In order to enter expenses in QuickBooks, you should have an expenses account. To set up an expense account, follow the steps given below:
- Firstly, go to QuickBooks home page and locate Chart of Accounts.
- Now click on Account and choose New.
- A New Account window will open.
- Now choose Expense under the account type.
- You have to write the name of account in the account name field.
Steps to Enter Expenses in QuickBooks
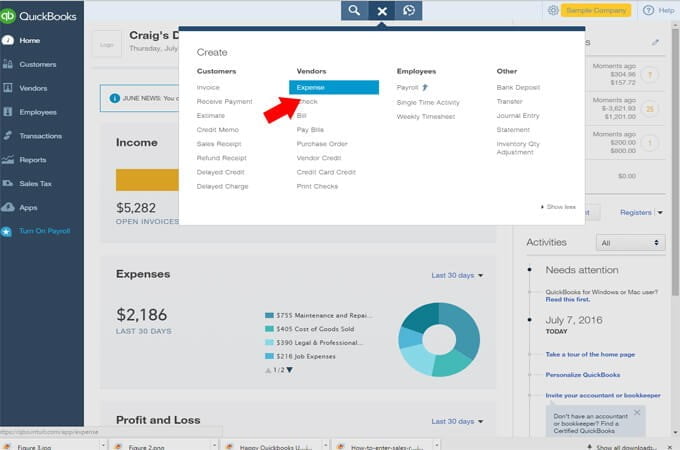
- First step is to click on plus sign (+) icon. This will open the transaction menu page.
- Choose Expense under the category of Vendors.
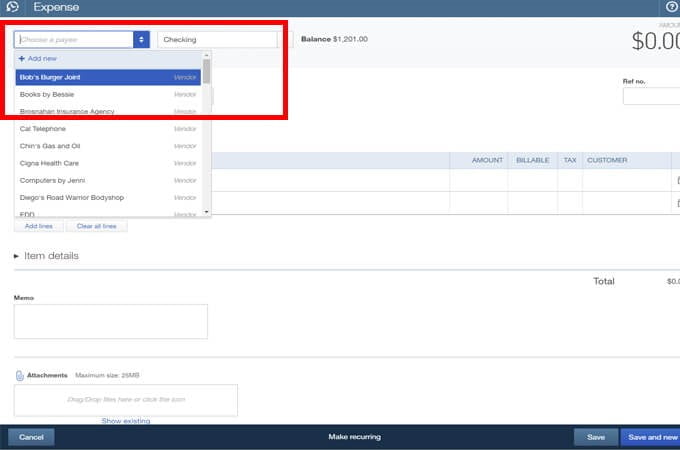
- In the Expense window, choose a Payee. For a new payee, you have to enter the name and click on Add.
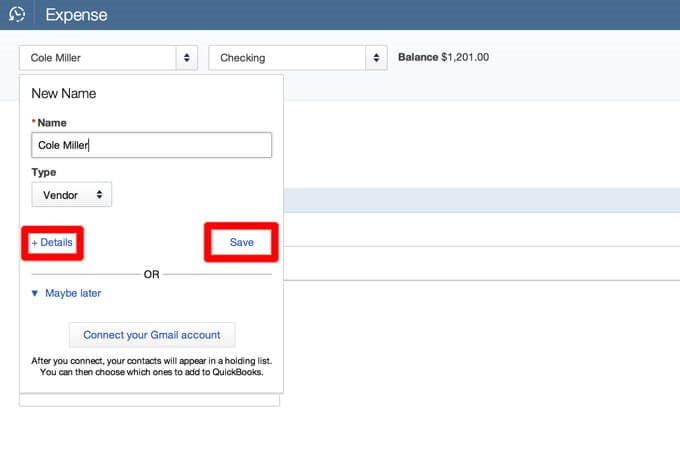
- If you want to add more details for a new payee, then click on +Details or Save to perform it later.
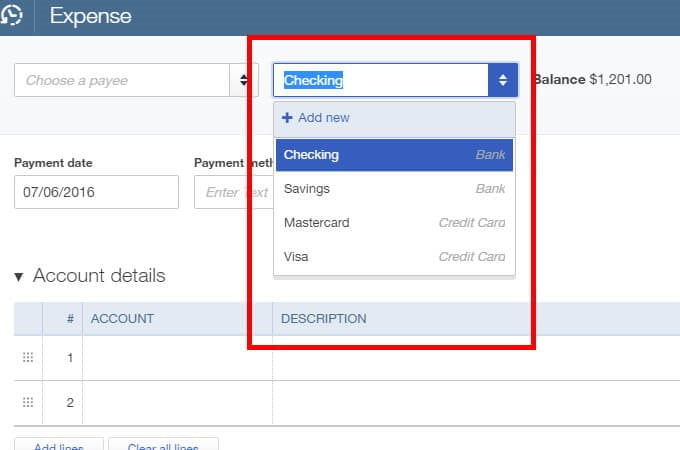
- Choose the account from which the purchase has been done. If it is done by debit card, you need to select a Checking Account.
- Next step is to enter the Payment Date (the date of purchase).
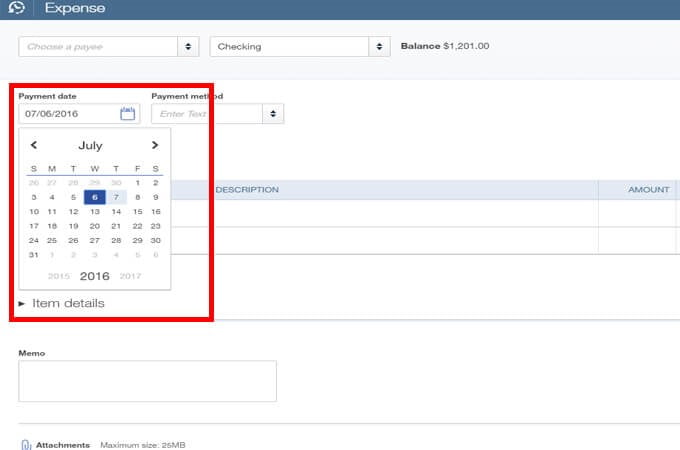
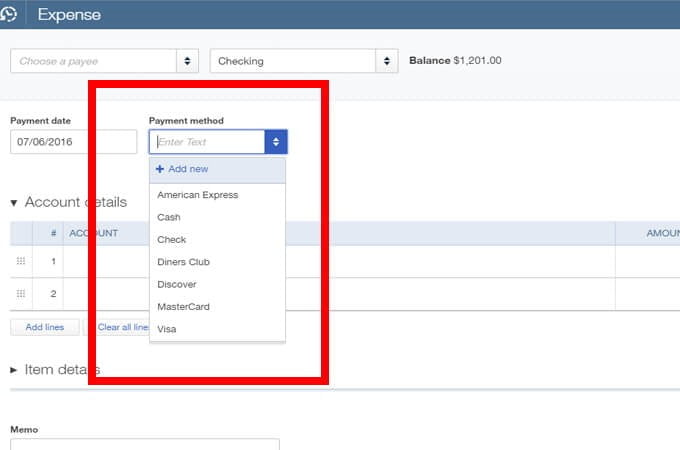
- Now you have to enter the Payment Method. If you have used another payment method during expense, then type it in the Payment method field and click on Add new.
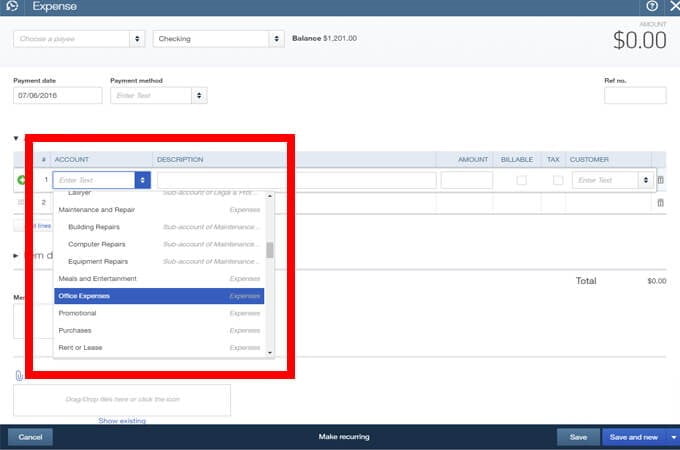
- Select the account category from Account. For a new category, type the name in Account field and click on Add New.
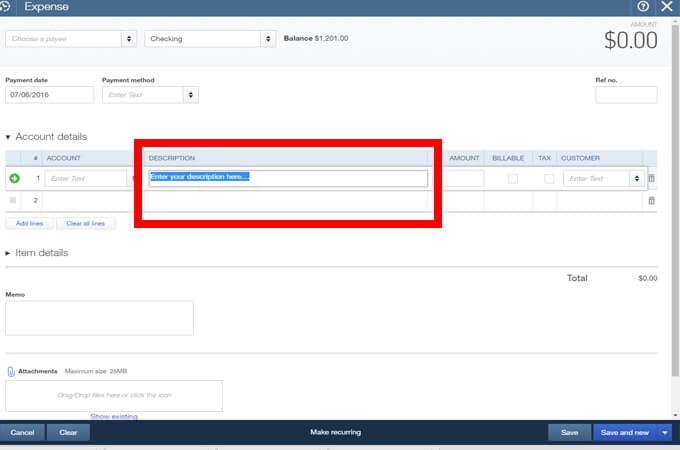
- To add more details of your purchase, add more information in the Description.
You can also add notes in the Memo box to add more information.
Note: You can attach a picture of a receipt or a PDF file by clicking on Attachments.
- Now enter the expense amount in Amount field.
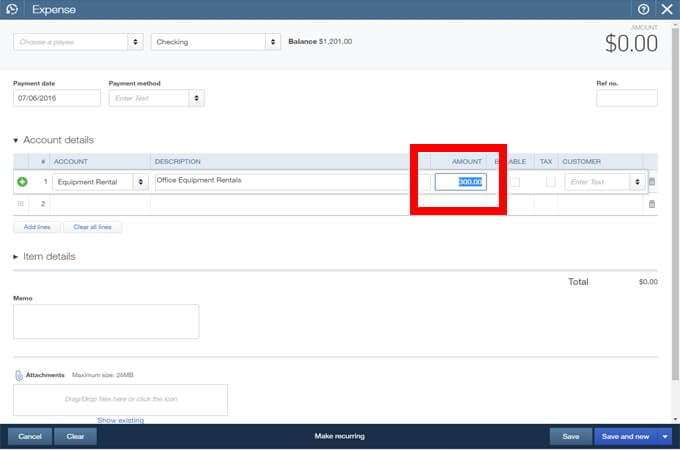
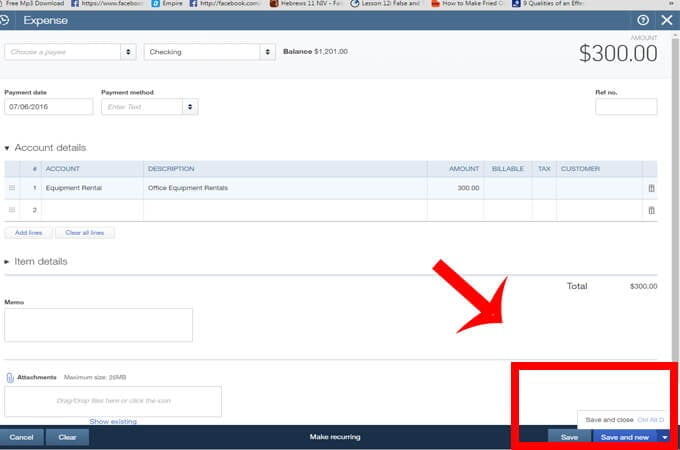
- Once you are done with filling all the information, click on Save and New to save it and start a new expense or click on Save and Close.
How Can you Track your Expense in QuickBooks?
Before you Save and Close or Save and New, there some options which will help you track the expense:
- If you are billing this expense to a particular customer, then select Billable and type the name of Customer.
Note: Billable expense tracking should be on to see the Billable column.
- To check income vs expenses report of each customer, run an Income by Customer Summary report.
- You can use the fields in Item Details to add information about the purchased product or service.
Editing an Expense in QuickBooks
- Select Expenses from the left menu.
- Now select the expense you want to edit from Expense Transactions window.
- Update the transaction then select Save and Close.
Note: Editing and expense may change the customer’s invoice.
Deleting an Expense in QuickBooks
- Firstly, select Expenses from the left menu.
- Now select the expense you want to delete from Expense Transactions window.
- Go to Expense Details window, choose More and select Delete.
- Lastly, hit Yes to confirm.
In the above article, we have described the steps in detail to “how to enter expenses in QuickBooks”. If you still have any problem, our certified experts will guide with reliable solutions. Just give us a call at QuickBooks Customer Service Number.
GET INSTANT RESOLUTION
Get our expert Quickbooks ProAdvisor on call to resolve your query in no-time.

